
After trying various services like Blogger and Wordpress, I finally settled on GitHub Pages. (The Source Code post earlier explains why). I tried installing Jekyll, but there was some problem with my Ruby installation (partly because I was on Puppy Linux),so I started searching for alternatives. I came across this post about Pelican, a Python-powered Jekyll-like page generator.
Here, I'm going to tell you how to set up this blog, using Pelican and GitHub Pages. I'll skip the many bits that I did and undid later, and instead tell you what I would do now if I wanted to get to my current setup.
GitHub Pages
This blog is a user site, http://badrihippo.github.io, as opposed to a
project site. In User sites, what is served is the contents of the main
master branch of the repo. For project sites, the site is hosted on the
gh-pages branch, because master will probably be used for the main project.
(I'm assuming you're familiar with using git branches.)
So, after creating the repo, as instructed on the
Help Page,
I can use git clone to clone it into my local folder, then add the new posts
I want and send them back up with git push origin master.
But I'm not creating the pages myself - I'm using Pelican to generate the pages! So I'll have to set up the source files outside, and tell Pelican to store the generated pages in my git repo folder.
Meet the Pelican
Pelican is a pages content generator, similar to Jekyll but written in Python.
Since I already had Python and virtualenv installed, all I had to do to get
Pelican was pip install markdown pelican. I needed to install markdown as
well because I was planning to write my source posts in markdown.
To install a Pelican website, you cd to that folder and do pelican-quickstart
(note: single command).
This is an interactive command, which asks you for various info to generate your
initial config file, like this:
$ cd /home/hippo/Desktop
$ mkdir pelitest
$ cd pelitest
$ pelican-quickstart

Welcome to pelican-quickstart v3.5.0.

This script will help you create a new Pelican-based website.

Please answer the following questions so this script can generate the files
needed by Pelican.

> Where do you want to create your new web site? [.]
> What will be the title of this web site? My Pelican Blog
> Who will be the author of this web site? Badri Sunderarajan
> What will be the default language of this web site? [en]
> Do you want to specify a URL prefix? e.g., http://example.com   (Y/n)  y
> What is your URL prefix? (see above example; no trailing slash) http://badrihippo.github.io
> Do you want to enable article pagination? (Y/n) y
> How many articles per page do you want? [10]
> Do you want to generate a Fabfile/Makefile to automate generation and publishing? (Y/n)
> Do you want an auto-reload & simpleHTTP script to assist with theme and site development? (Y/n)
> Do you want to upload your website using FTP? (y/N) n
> Do you want to upload your website using SSH? (y/N) n
> Do you want to upload your website using Dropbox? (y/N) n
> Do you want to upload your website using S3? (y/N) n
> Do you want to upload your website using Rackspace Cloud Files? (y/N) n
> Do you want to upload your website using GitHub Pages? (y/N) y
> Is this your personal page (username.github.io)? (y/N) y
Done. Your new project is available at /home/hippo/Desktop/pelitest
Of course, normally I wouldn't create the site on my desktop; this is just for the example.
The above command will create pelicanconf.py, publishconf.py, and two folders:
content and output. You write posts in the .htm, .rst or .md formats,
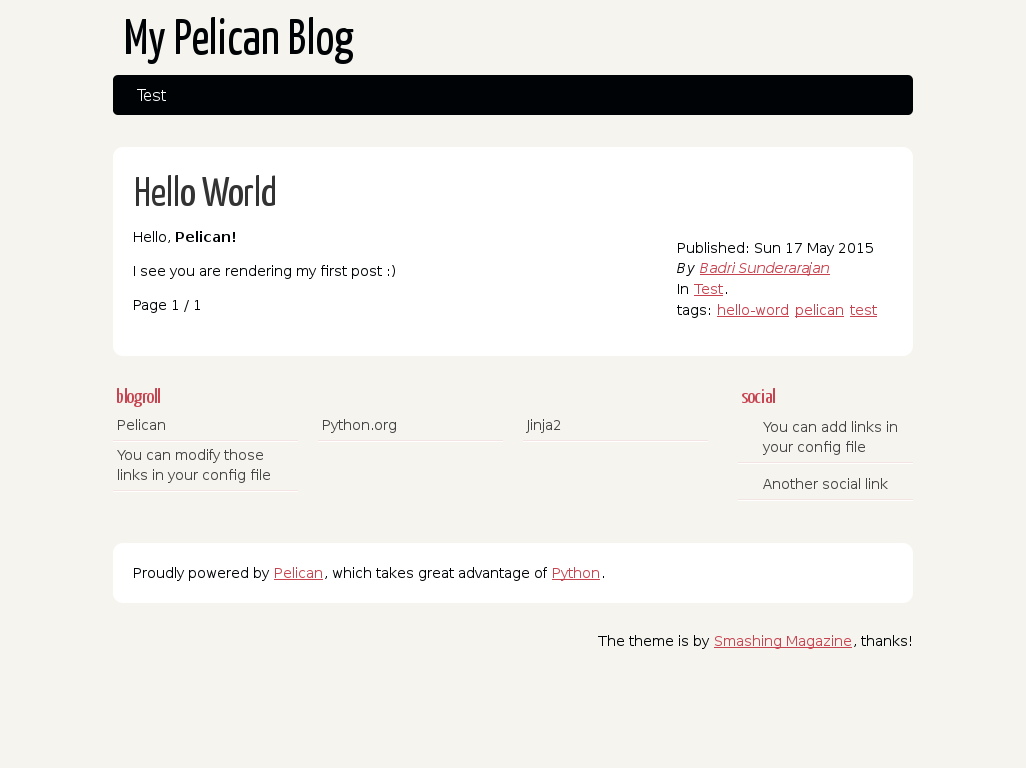
giving the metadata on top. Here's an example .md post:
Title: Hello World
Date: 2015-05-17
Category: Test
Tags: hello-word, pelican, test

Hello, **Pelican!**

I see you are rendering my first post :)
Save this as helloworld.md in the ./content folder, and run pelican content
to generate the HTML into the output folder, which you can then view in your
browser.
One tip I got from the Pelican docs is to cd to the output folder and run
python -m SimpleHTTPServer. This serves the folder contents on localhost:8000,
allowing your browser to load stylesheets and other media in addition to the main
.htm page. If you select the option during setup, you can also run the
./develop_server.sh script to run a development server.
There are two config files, as I mentioned earlier: pelicanconf.py is the default
one used by Pelican, and publishconf.py is where you can put additional settings
to use in production. To use the publish settings, you do
pelican content -s publishconf.py.
In the config files, you can do various things like add links and change themes, but I won't got into those details—you can see the Pelican docs for all the info.
The setting I'm interested in right now is OUTPUT_PATH, which tells Pelican
which folder to store the rendered website in. The default is the output folder,
but I want it to go into my GitHub Pages repo. Setting
OUTPUT = '.../badrihippo.github.io does the trick.
Set up the Branches
While the final HTML content goes to master on the badrihippo.github.io repo,
I also wanted to have my other Pelican sources and config files available synced.
So I decided to have two branches on badrihippo.github.io: a pelican branch
for the source files, and a master branch for the final output. After a bit of
experimeting, and thanks to this gist
by chrisjacob, I finally settled on this directory
structure:
badrihippo.github.io/
├── master/
│   └── (contents of master branch)
└── pelican/
    └── (contents of pelican branch)
The master branch was already on GitHub, so I created the folder and added the
repo as origin, and pulled changes:
$ cd badrihippo.github.io # Note: this is a new, empty folder
$ mkdir master
$ git init    # initialie new git repo
$ git remote add origin https://github.com/badrihippo/badrihippo.github.io.git
$ git pull    # pull changes from repo before any modifications
The pelican folder already existed, but there was no repo yet. So after moving
the folder to the correct place (and deleting the output directory), I did:
$ git init    # initialise new git repo
$ git checkout -b pelican    # Create new 'pelican' branch
$ git add .    # Add & commit files
$ git commit
$ git remote add origin https://github.com/badrihippo/badrihippo.github.io.git
$ git push origin pelican # Push changes to GitHub
The last command creates a new branch called pelican on the GitHub repo, with
the contents of the local pelican directory/branch inside.
One more change to do: open publishconf.py and comment out the
DELETE_OUTPUT_DIRECTORY = True line (or change it to False). That settings
tells Pelican to delete and re-create the output directory every time pages are
generated, which is not what we want. Because it'll delete our git repo files as
well.
Also set OUTPUT_PATH = '../master/' so your changes get saved into the master
directory
Now, you have two folders, each containing a different branch of the Github repo.
For safety, you can delete the master branch from the pelcian folder's repo so
you don't commit to it by mistake:
$ cd pelican
$ git branch -d master
$ git branch # Check branch status
* pelican
Good: the branch is deleted.
New Post
Now, here's my procedure when writing a new post:
- Write the post in markdown and save it in
pelican/content git addandgit committhe new post (again from within thepelicanfolder)- Run
pelican content -s publishconf.py. This generated the website pages in themasterdirectory. git push origin pelicanto upload the source changescd ../master,git commit -aandgit push origin masterto push the published website change.
Afterthought
Having set this up, I'm wondering: do I really need to have two branches? There's
nothing wrong with letting website visitors to see the source folder, if they know
how to do it: it's all there on GitHub anyway. Maybe I should just tell Pelican to
save content in the main directory itself (instead of a new output directory), and
have everything—config files, content folder, templates, and output—all in one branch.
The setup I described in the article, which I'm using right now, may make sense from a git perspective, because the source is tracked separately from generated content (which actually needn't be tracked at all). But it would be more convenient to be able to post with just one commit.
And I doubt my blog will need much version control, anyway.